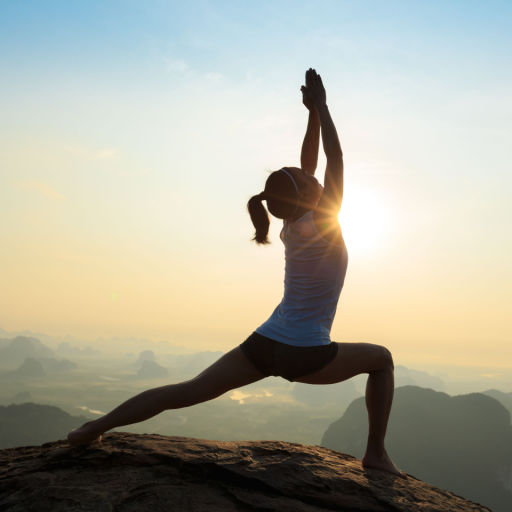
Starting your morning with the right mindset and freshness can make all the difference. Nothing beats positive thinking and a little push from a refreshing yoga session. Aditya Birla Health Insurance presents #YogaBAE or Yoga Before Anything Else with 12 steps of Surya Namaskar as a part of our week-long yoga campaign in the run-up to the International Day of Yoga.
What you need to know:
- What is Surya Namaskar?
- When to do Surya Namaskar?
- 12 steps of Surya Namaskar
- Benefits of doing Surya Namaskar daily
Yoga can be your way out whenever you feel overwhelmed by ongoing distractions. Today, Kamya Sidana, a certified yoga instructor, takes you through Surya Namaskar and the benefits of its twelve poses to help you stay active and flexible.
What is Surya Namaskar?
Surya Namaskar, literally translating to saying ‘hello to the sun,’ is a sequence of twelve powerful yoga postures. It is considered to be a practice of paying respect to the sun, the world’s ultimate energy source. In addition, this posture is vastly popular as a cardiovascular exercise that positively affects the mind and body.
When to do Surya Namaskar?
Surya namaskars are best done in the morning, facing the sun for a refreshing experience. Each body movement is synchronized with breathing, exhaling at folds, and inhaling at every stretch or as you lengthen the body. It is widely recommended that the yoga sequence be performed on an empty stomach to maximize the benefits of Surya Namaskar.
12 steps of Surya Namaskar
Each cycle of Surya Namaskar consists of two sets of 12 yoga poses. There are various ways to perform the Surya Namaskar. For the finest outcomes, staying with one particular version and practising it frequently is advised. Here are the 12 steps of Surya Namaskar.
Step 1: Pranamasana
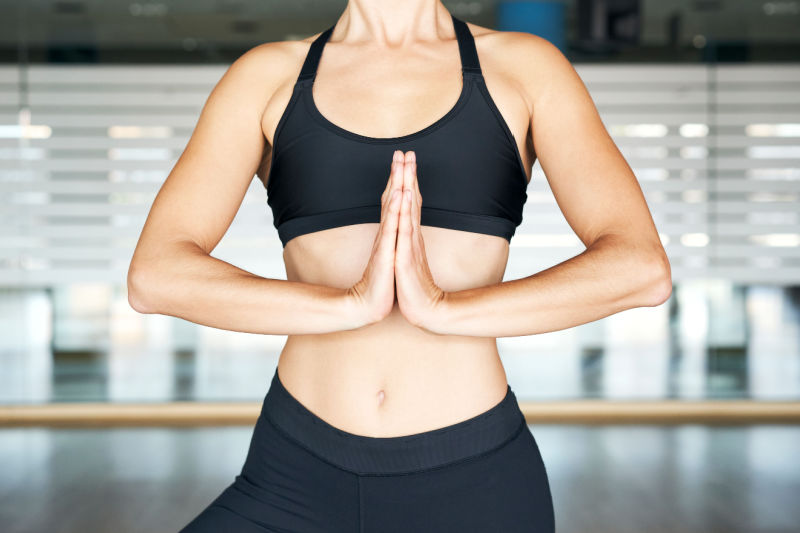 Pranamasana is a standing posture where you align your feet closely and stand upright. As you inhale deeply, raise your hands sideways while keeping your shoulders relaxed and expanding your chest. Exhale gently and join your palms together in front of your chest. It is an expression of gratitude for all things in life.
Step 2: Hasta Uttanasana
Take a deep breath and slowly lift your hands upward while keeping your palms together. To relax your body, slightly slant your back. Keep your ears and biceps close together. The step signifies the welcoming of happiness and freedom into life.
Step 3: Hasta Padasana
 Exhale and gradually bend forward, folding from your waist. Focus on bending the upper portion of your body and keep your spine straight as you lower yourself toward the ground. Hasta Padasana helps balance the mind and improves digestion.
Step 4: Ashwa Sanchalanasana
Inhale deeply as you stretch your body parallel to the floor. Extend your arms along your sides and bring your right knee towards the right side of your chest. Arch your back gently and look upward, simultaneously extending your left leg behind you, developing confidence and willpower with the pose.
Step 5: Dandasana
Keeping the body parallel to the ground, inhale and stretch the right leg backward, aligning it with the left leg. Experience the relaxation the pose brings while reducing stress.
Step 6: Ashtanga Namaskara
Gently lower your knees toward the ground while exhaling deeply. Keep your hips elevated and lower your chin to the ground, maintaining a slight arch in your back. This is a pose for improved awareness around you.
Step 7: Bhujangasana
Also called the Cobra Pose, align your torso and chest to the floor. Your midsection and legs stay flat while supporting the body using the hands. Make sure not to put your weight entirely on the arms and enjoy the strength-building that comes with the pose.
Step 8: Parvatasana
 Raise your midsection slowly while keeping your feet and palms in place. Release your breath gently while you maintain your posture. Parvatasana helps bring stability to the body.
Step 9: Ashwa Sanchalanasana
Return to the pose by bringing your right foot forward and placing it next to your left foot, enhancing strength and balance. Maintain this position as you breathe in.
Step 10: Hasta Padasana
Holding the left foot adjacent to the right foot, steadily bring the left foot forward while exhaling. Keep your hands in the same place as you lift yourself.
Step 11: Hasta Uttanasana
Lift the hands up and take a deep breath. Bend backward slowly. The stretching of the chest here improves breathing.
Step 12: Pranamasana
Relax your body and breathe out while maintaining the Namaskar mudra. The cycle is now finished, ending with gratitude for all the energy you have gained.
Benefits of doing Surya Namaskar daily
These twelve Surya Namaskar steps improve health and have multiple other benefits, which include –
- Promotes cardiovascular wellness
- Activates the nerve system
- Aids in muscle stretching, flexing, and toning
- Helps in controlling weight
- Improves immune system performance
- Improves cognitive abilities
- Enhances general health, builds muscle, and calms the mind
Energize your mornings with #YogaBAE or Yoga Before Anything Else. Practise the 12 steps of Surya Namaskar and freshen up your mind and body for a productive and focused day ahead.
Stay tuned to the Activ Living Community. Keep up to date with the latest health tips and trends through expert videos, podcasts, articles, and much more in nutrition, fitness, mindfulness, and lifestyle conditions like Asthma, Blood Pressure, Cholesterol, and Diabetes.
You may also be interested in the following blogs:
- 3 Types Of Asanas – Tadasana, Padmasana, Uttanasana – And Their Benefits
- Yoga For Energy: 4 Exercises To Improve Your Strength And Flexibility
Popular Searches
How to lower blood pressure | Fruits good for liver | Unhealthy foods | Ragi Benefits | Basal Metabolic Rate | Acupressure points for High Blood Pressure | Ayurvedic medicine for blood pressure | How to control cholesterol at home | Homeopathy for Asthma | Biological Age | Home remedies for TB | Natural beta blockers | Negative effects of internet | Types of walking | Blood pressure calculator | Blood sugar calculator | BMI Calculator


 1800-270-7000


